

The Ultimate Guide to Car Scratch Removal
Car scratches are one of the most common and frustrating problems car owners face. This ultimate guide covers everything you need to know about identifying, treating, and preventing car scratches.
Step 1: Identify the Type of Scratch
Before treating a scratch, identify its depth:
- Clear coat scratch: Only affects the top layer. Can’t feel it with your fingernail.
- Paint scratch: Penetrates the color layer. Visible color difference.
- Deep scratch: Reaches the primer or metal. May show rust.
Step 2: Choose the Right Product
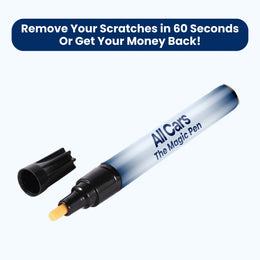
For clear coat and light paint scratches, the Magic Pen FixMyCar™ is the ideal solution. It works on all colors, delivers permanent results, and takes under 60 seconds to apply.
Step 3: Prepare the Surface
Clean the scratched area with a dry microfiber cloth. Remove any dirt or debris that could interfere with the repair.
Step 4: Apply the Magic Pen
- Shake the pen for 10 seconds
- Apply the formula directly to the scratch with light, even pressure
- Let it sit for 30 seconds
- Wipe away any excess with a clean cloth
Step 5: Protect Your Repair
Avoid washing the treated area for 24 hours to let the formula fully cure. After that, your repair is permanent and resistant to water and car washes.
Step 6: Prevent Future Scratches
Use the Glass Fix Guard FixMyCar™ to protect your windshield, park carefully, and keep the Magic Pen in your glove box for immediate treatment of any new scratches.
With the right knowledge and the right tools, car scratches don’t have to ruin your day — or your budget.